I am starting this project with a pine varnished pine tongue and groove floor board and iI preceded to mark to lines 4"/100mm apart.
I then clamped a simple circular saw guide lining up the mark.
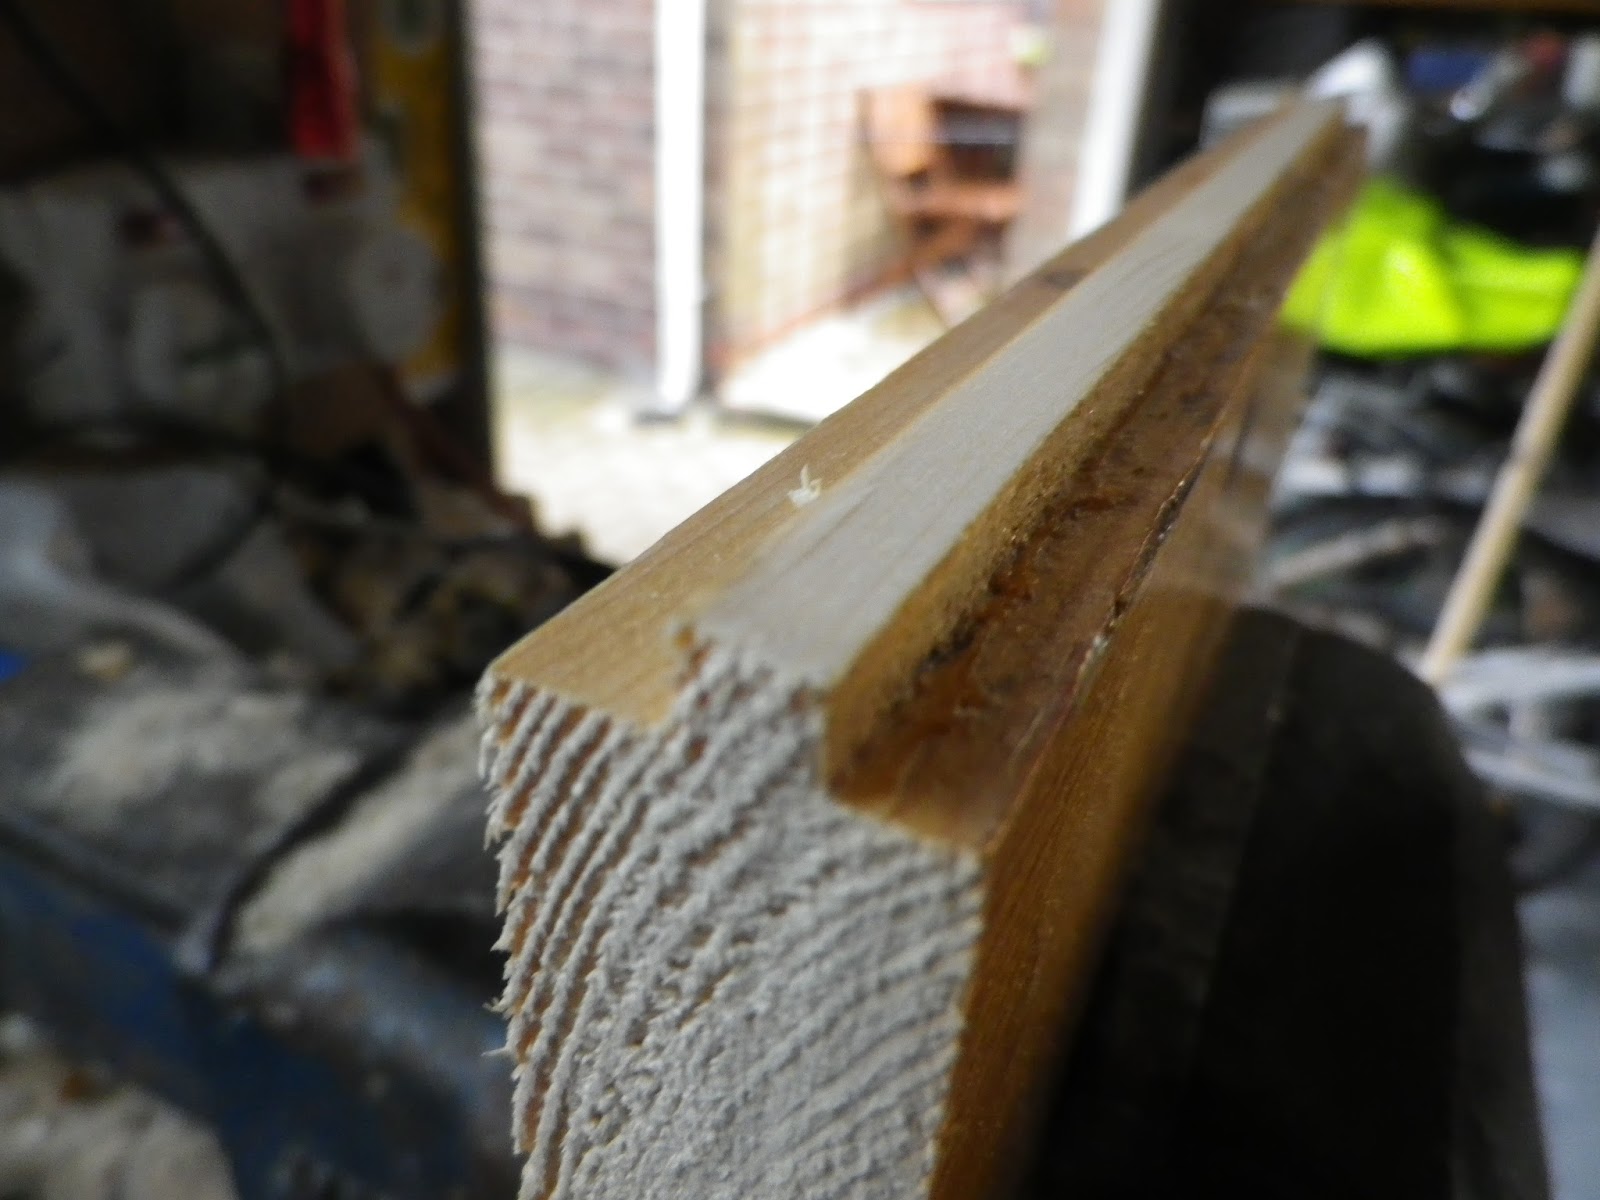
after it was cut I then took as hand plane in my case I used a Stanley #5 but a #4 would work fine its just a little easer with the longer body of the #5 .
Clamped the board into the vice and marked a line down the edge so I could cut down the line,
which would give me two 4"/100mm sections
I knocked of the sharp edges using some 120 grit sandpaper.
I glued the two sections together and clamped with a few clamps
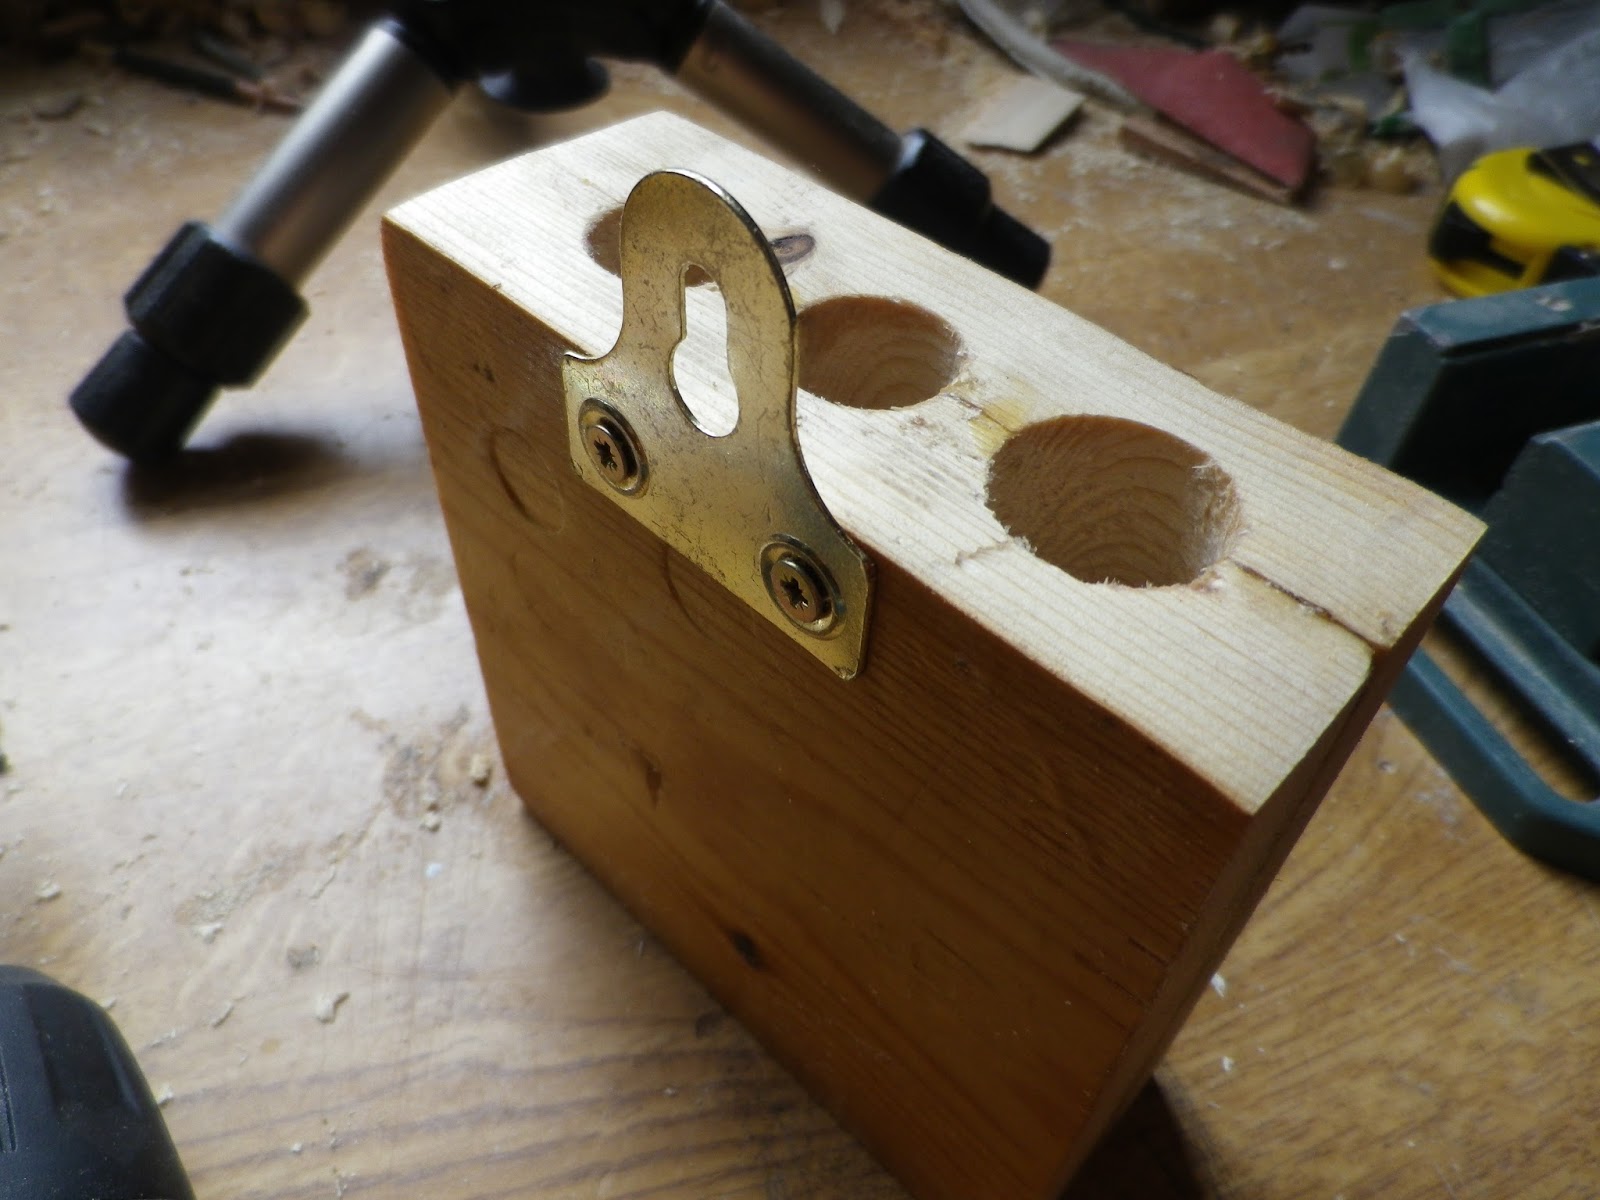
After the glue had dried I drilled on 22mm hole in one side 3"/75mm
Two pilot holes a drilled, (shown here already done)
Then followed by the larger bit.
Sanded down.
Here there was a few small gaps from when I drilled it then made the gaps larger trying to price them apart but they had glued well ! and was not coming part cleanly so I decided to glue it back together and use a few clamps.
I then rubbed glue into the gaps.
I placed my reel of solder on the dowel and marked where to cut.
And then drilled a hole though it as shown in the image and countersunk it. I should have done this on the pillar drill/drill press ad it needed a ton of force that I didn't have with the cordless drill especially as it was a hardwood and endgrain.
I drilled four holes and put 4 screws into to hold clamp it together. I then rubbed a coat of teak oil and also added the dowel and two wall fixings.
I added a wire wall clamp/clip to hold the solder that's on the reel.
I think it turn out great thanks for checkout this article and if you want you can comment of this post below I would love you too also check out my other videos and my channel as I will be posting more videos and projects soon thanks!


No comments:
Post a Comment